Can You Use Tattoo Aftercare as Aftersun?
Can tattoo aftercare double as aftersun? Compare moisturisers, discover a simple routine for healed tattoos and learn when your skin needs different care.
You’ve picked the design. You’ve found the artist. Now comes the question you’ve been quietly googling at 2am: how much is this actually going to hurt?
The honest answer: it depends a lot on where you’re getting it. Pain tolerance matters, sure — but the location of your tattoo is arguably the bigger factor. Two people with identical pain thresholds can have completely different experiences depending on whether the needle is hitting their outer bicep or their ribs.
Here’s what actually drives the difference, and which spots you need to prepare for.
Our Tattoo Painmap represents the areas of the body, most prone to pain under the creation of a tattoo. It can help with pre-planning the location of a certain tattoo.
The tattoo painmap shows the most painful places to get a tattoo.
Tattoo pain isn’t random. It follows a pretty predictable logic once you understand what’s happening under the skin.
Three things determine how much a placement hurts: nerve density, skin thickness, and proximity to bone. Areas packed with nerve endings (like hands, feet, and the neck) send stronger pain signals to your brain. Thin skin over bone — think shins, ribs, spine — offers almost no cushioning, so the needle vibration transmits directly. Areas with thicker skin and muscle underneath, like the outer thigh or upper arm, absorb more of the impact.
There’s also the matter of how long the session runs. Any spot becomes significantly more painful after the first hour. Inflammation builds, the skin gets sensitive, and what felt manageable at the start starts to wear you down. This is worth remembering when you plan a large piece.
The hardest spots:
Ribs and sternum — consistently rated as one of the worst placements. The skin is thin, the bone is right there, and you’re breathing the entire time, which creates constant movement. Long sessions on the ribs are genuinely exhausting.
Hands, fingers, and feet — dense with nerve endings and almost no fat or muscle to soften anything. Knuckles and the tops of feet are particularly notorious. They also tend to heal unevenly, which means touch-ups — and another round of pain.
Elbow ditch and back of the knee — soft tissue over a joint, full of nerves. The bending motion of these areas also means they’re constantly in use and slow to heal.
Head, neck, and throat — the neck in particular has a high nerve density and little skin to work with. Many people find the buzzing sensation amplified here because of how close the needle is to the jaw and skull.
Spine — every pass of the needle travels directly over vertebrae. There’s almost no buffer. Short sessions are doable; a full spine piece is a serious commitment.
The middle ground:
Inner arm and inner thigh — softer skin, higher nerve density than the outer equivalents. Not the worst, but noticeably sharper than the outer upper arm or thigh.
Chest (for men) — depends heavily on body composition. Muscular chest = more manageable. Closer to the sternum = worse.
Behind the ear — small area but surprisingly sharp. The thinness of the skin and the bone directly underneath make it punchier than people expect.
The more manageable spots:
Outer upper arm and shoulder — the classic starter placement for a reason. Good muscle coverage, relatively low nerve density, and easier to sit for longer sessions.
Outer thigh — one of the most comfortable spots on the body. Thick skin, good muscle coverage, and far from major nerve clusters.
Upper back and shoulder blades — solid placements for larger pieces. Some discomfort near the spine and shoulder blade edges, but generally well-tolerated.
Calves — surprisingly bearable for most people. Enough muscle to buffer, not too many nerves at the surface.
Pain management for tattoos comes down to a few practical things.
Eat before you go. Low blood sugar makes everything feel worse, and fainting mid-session is more common than people admit. A proper meal 1–2 hours before is not optional.
Stay hydrated. Hydrated skin is easier to work with and heals better. It also helps you stay calm and regulated during the session.
Don’t drink alcohol the night before. It thins your blood, which means more bleeding and a harder time for your artist to work cleanly. It also dehydrates you.
Take breaks during long sessions. There’s no prize for suffering through without stopping. Most artists are perfectly fine with a 10-minute break — it actually helps them work on less agitated skin.
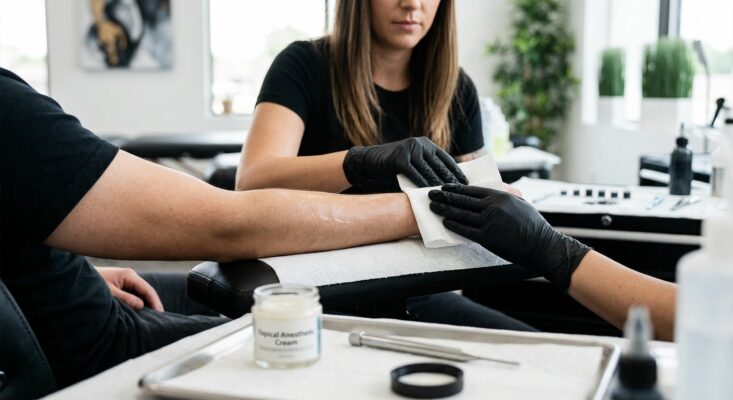
Use a numbing cream. This is the most direct way to take a difficult placement and make it manageable. Applied correctly 30–45 minutes before the session, a quality numbing cream can reduce or eliminate the sharp pain during the first part of the session. For spots like ribs, feet, or the spine, it can be the difference between getting through the session cleanly and tapping out early.
If you’re planning a placement that falls in the higher-pain category, go in informed rather than blindsided. Know that you might need multiple sessions, and that the second half of any long session will be harder than the first. Talk to your artist about the placement and whether they’ve seen clients struggle with it — good artists will give you an honest answer.
Pain is part of the process for most people. But it doesn’t have to be the thing that defines your experience, or that makes you cut the session short before the piece is finished.
Plan well, prepare properly with NoPain® and you’ll be surprised what you can get through.
Want to prepare for your next session? Browse NoPain® numbing cream
Inspiration:
tattooing101.com

Can tattoo aftercare double as aftersun? Compare moisturisers, discover a simple routine for healed tattoos and learn when your skin needs different care.

Discover how to plan for a long tattoo session with our expert tips on hydration, nutrition, comfort, and mental preparation for a smooth and successful experience.
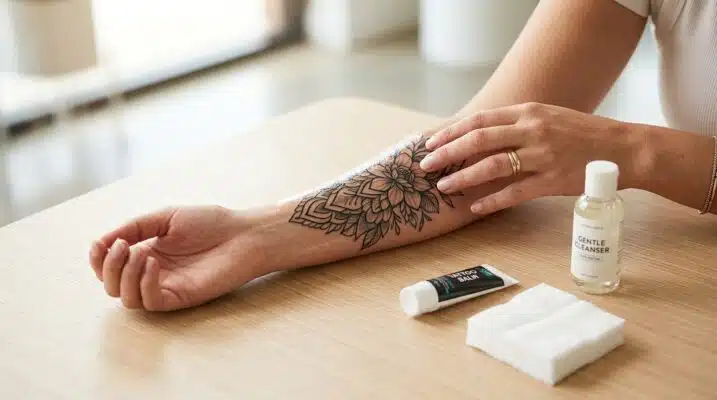
Learn about common tattoo aftercare mistakes to avoid, from improper cleaning to sun exposure. Follow our expert tips for a smooth healing process and vibrant ink.
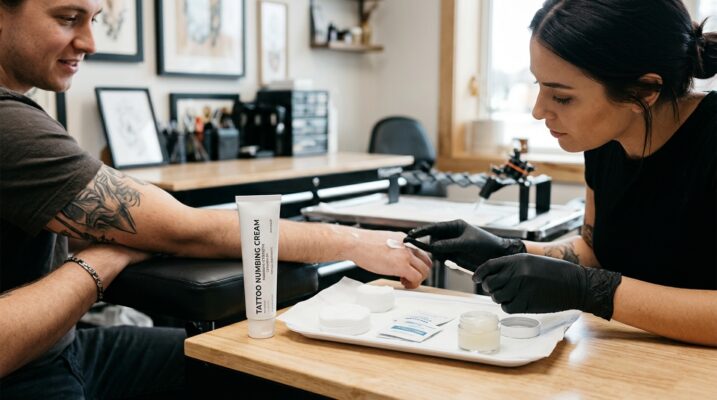
Discover what to look for in a tattoo numbing cream, focusing on active ingredients like Lidocaine, formulation, and brand reputation for a comfortable tattoo experience.
Wondering does numbing cream affect tattoo ink? Discover how professional numbing creams work, what tattoo artists say, and how to use them safely for vibrant, lasting

how long does tattoo numbing cream last: Discover how long tattoo numbing cream lasts, typically 4-6 hours, and learn essential tips for proper application and skin
Choose Bank Transfer at checkout and get an instant 2% discount on your entire order — no code needed.